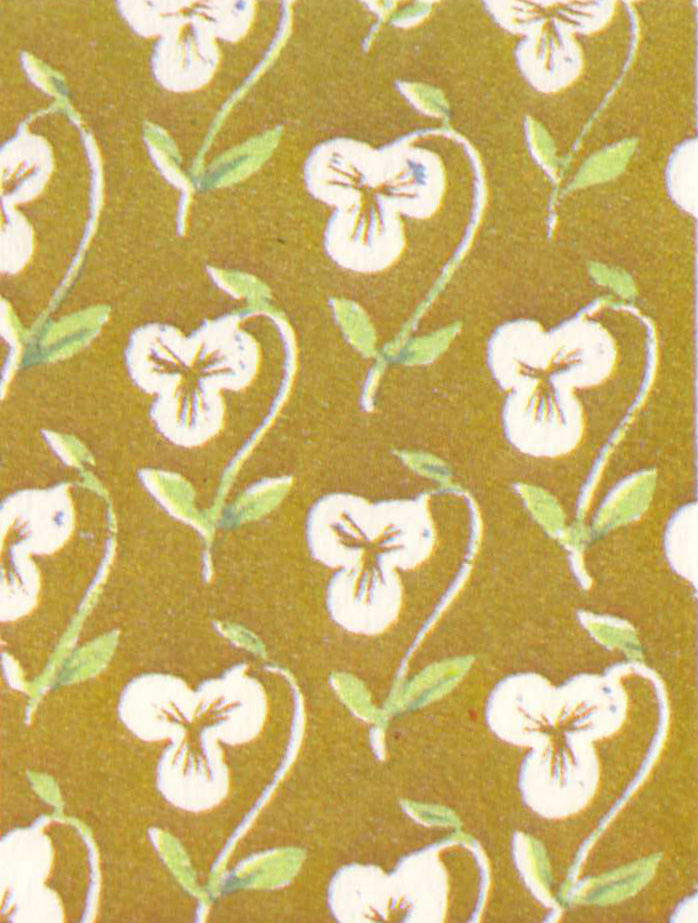
For the week of september 16th 2019, the class of Math 401: Mathematics Through 3D Printing, was to demonstrate different wallpaper groups. Wallpaper patterns have been dubbed that for the fact that these patterns look like wallpaper and how they tile the plane as well as wallpaper covering the wall. We see these patterns occur frequently everyday whether it be art, floor tiles, and other architecture.
 |
| (https://www.youtube.com/watch?v=5UbMFiK3LY0) |
In 1891, Russian mathematician, Evgraf Fedorov proved that only 17 distinct wallpaper patterns exist. In these patterns there are 3 different transformations that can occur. A shift or slide may occur when the tile/pattern is shifted producing the same tile as started with, this is a translation. A turn or rotation can occur where a tile is rotated around a certain axis leaving the new tile to be rotated a certain degree from the original. The last transformation that can happen is a flip or reflection where a tile is reflected in a direction and the resulting tile is a mirror of the original. There is a special case where a tile may have a glide reflection where a tile is shifted then reflected across an axis. Examples are shown below.
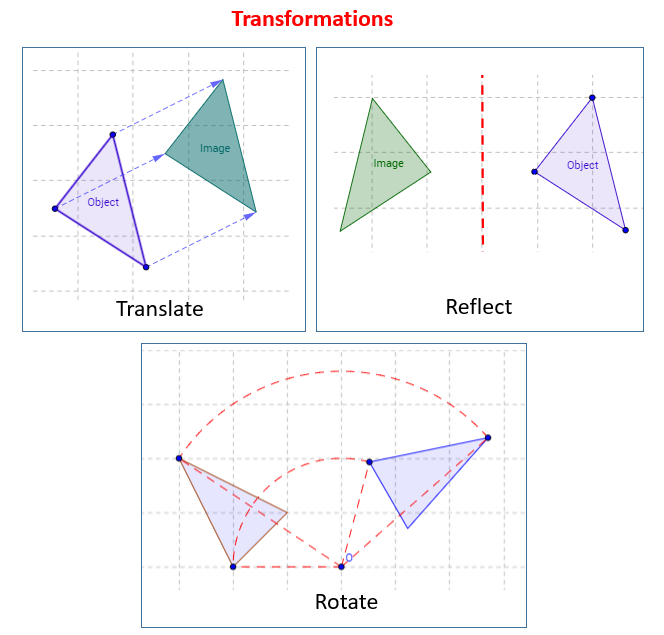 |
| https://www.onlinemathlearning.com/reflection-rotation.html |
Everyone in the class was given one specific tiling group to create their own pattern out of. I was given the task of demonstrating group p1 which is only contains translations, no rotations, reflections, or glide reflections. Although it seems like an easy pattern to follow, when designing the pattern I kept creating shapes that would have a reflection or rotation. Until I reached my final design.
 |
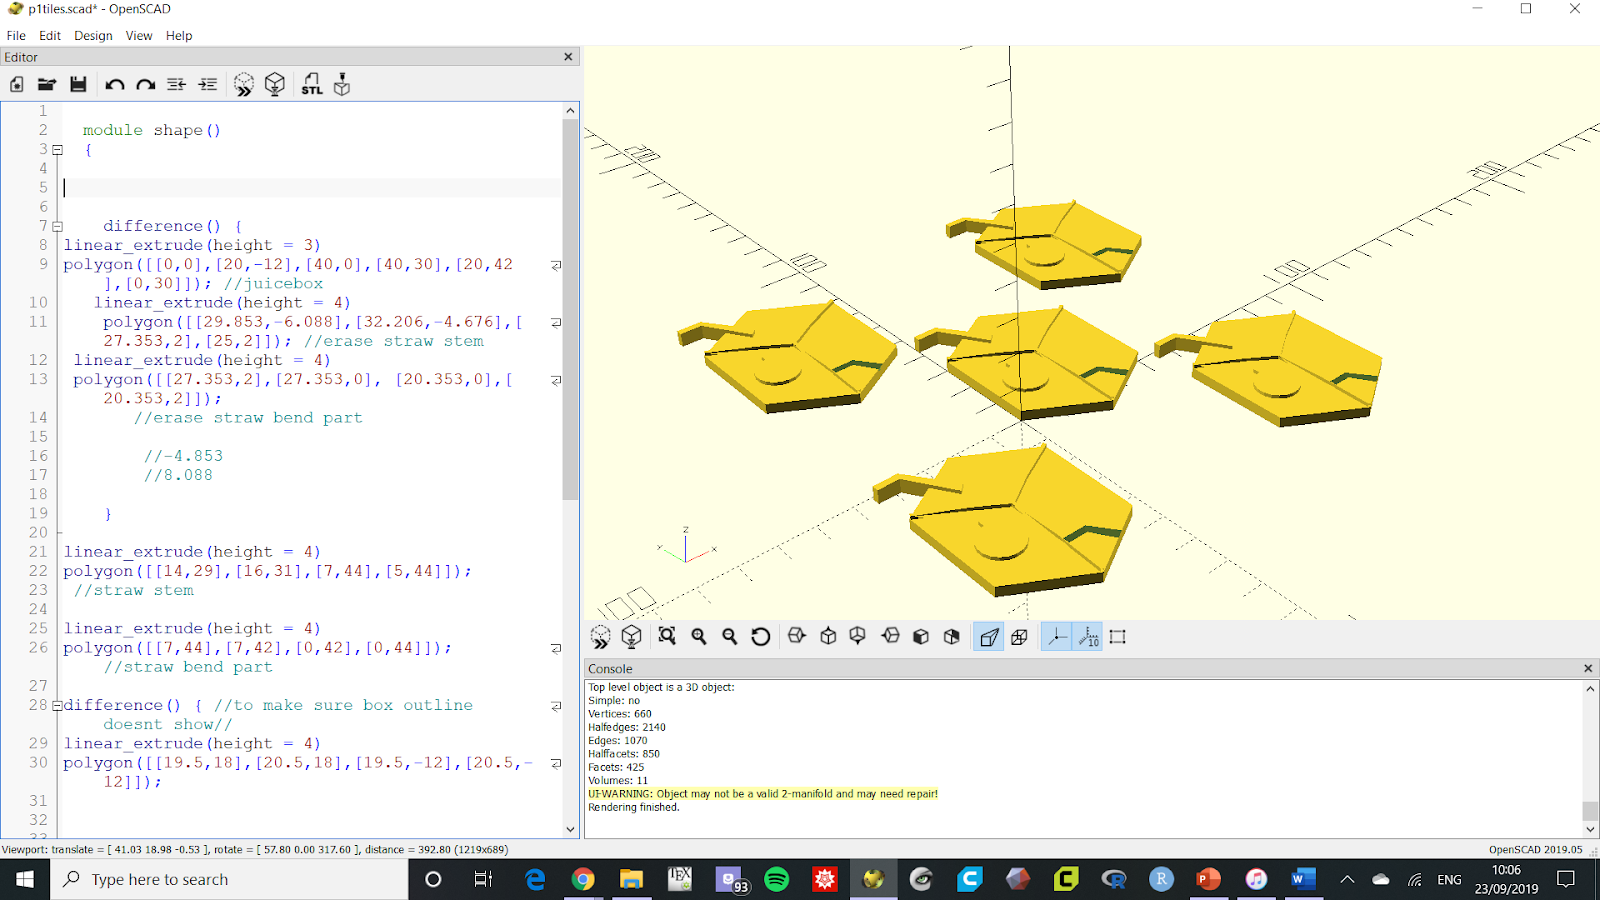
I created a “juicebox” shape and I realized it was a simple hexagon that could be reflected so to combat that I added a “straw” to the design to not get it confused. Adding the straw was the hardest part as I had to find measurements. It took me a bit to create the exact measurements to later find out that when printing there is a bit of an error in printing which I explained in the last paragraph. As shown in my print, the “juice box edges” aren’t printed but showed up in the stl file. As someone new to 3D printing I am not sure what happened there.
|

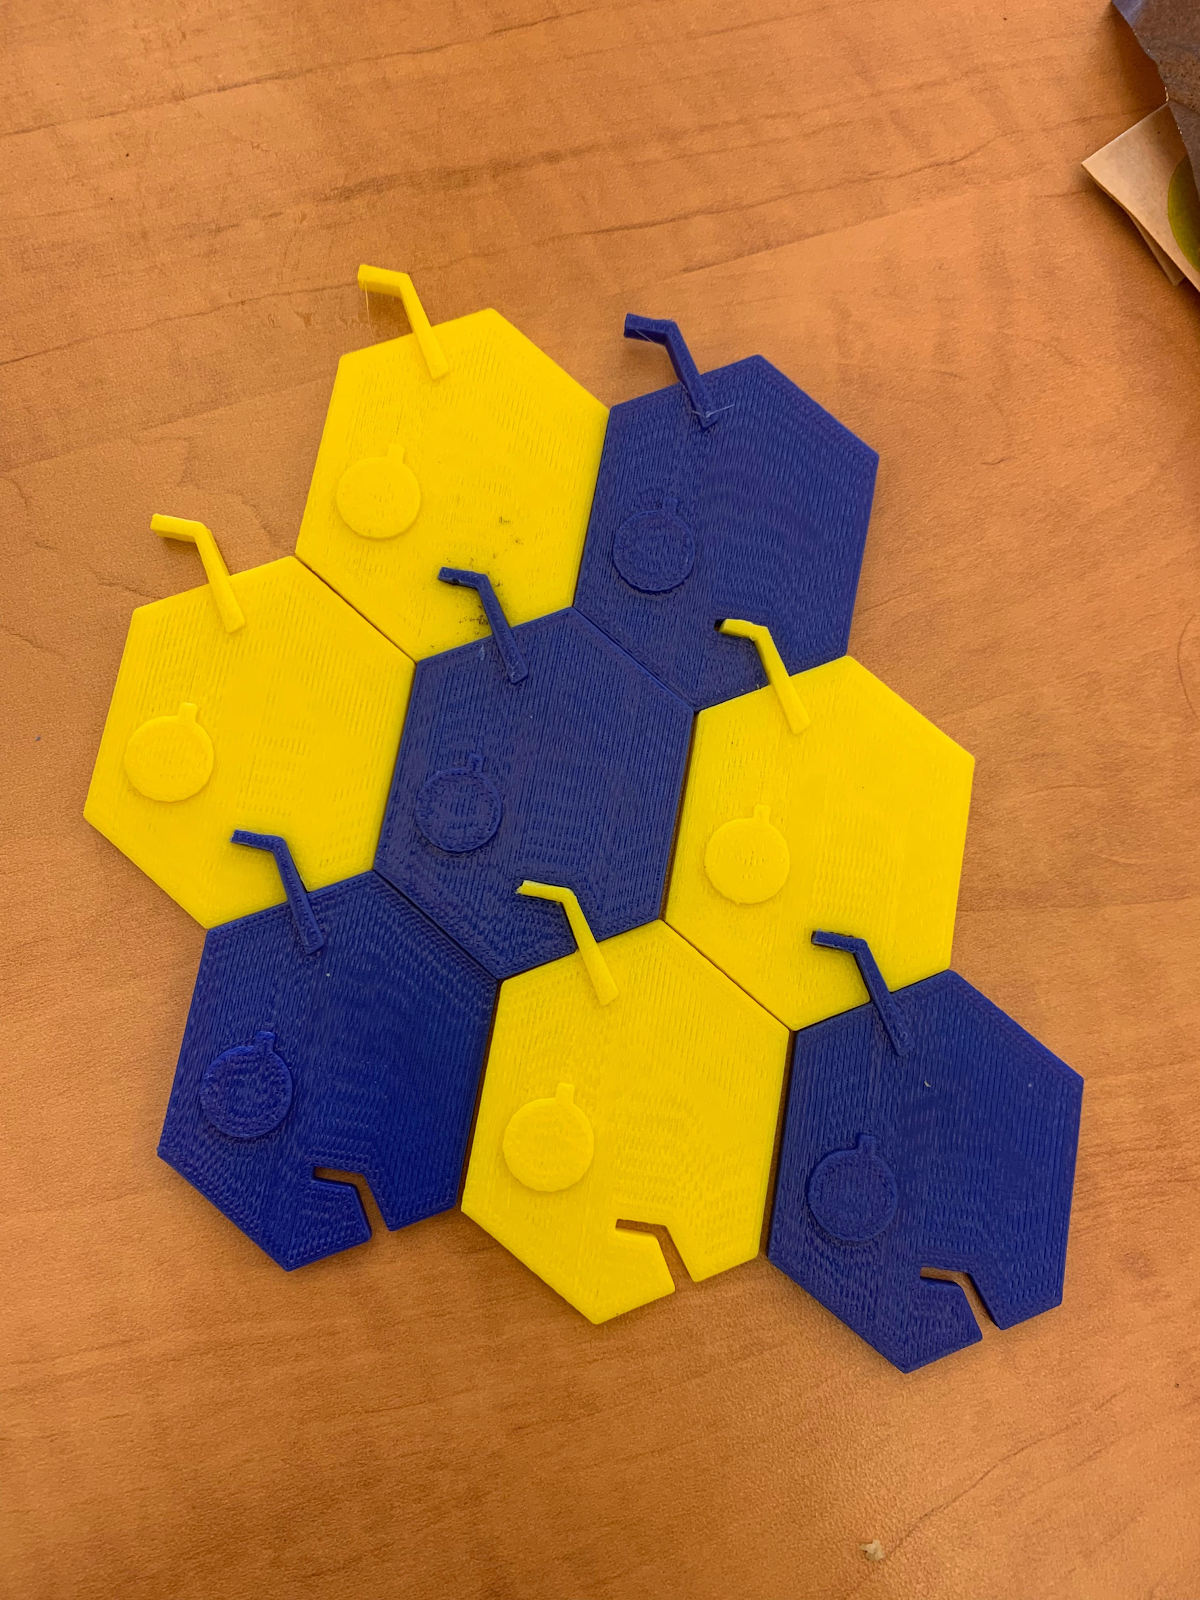
If I were to do this project again, there were a few mistakes I had learned.First, I needed to add a bit of a buffer room for the “straw” piece, as they were not fitting together at first. As I printed on Friday, I didn’t have much time to reprint so I did take an exacto knife to it and shave off a bit of the print until I could connect the pieces together. It ended up working, but I know for next time to leave the space. I would also see what happened to the “edges” of the print as they didn’t show up on the pieces. If they did it might help to see the whole picture. Without the mistakes I wouldn’t learn to do better for the next print.
No comments:
Post a Comment