Monday, December 29, 2014

Careful what you wish for

I have bought myself a home printer: FlashForge Creator Pro - dual, heated bed, pretty close to the replicator 2x. Learned a lot setting it up and have actually managed to get some things to adhere to the bed. I have had (and everyone does have) problems with the print sticking to the heated build plate, so was very proud to have found a secret method to get it to stick. Specifically, on blue tape before printing, smearing the bed with a glue stick. You know, the kind they use in kindergarten classes. I figure that someone’s kindergartner suggested it and that someone was just desperate enough to try it - only to find that it worked. (For Kapton tape, use hair spray instead of glue.)

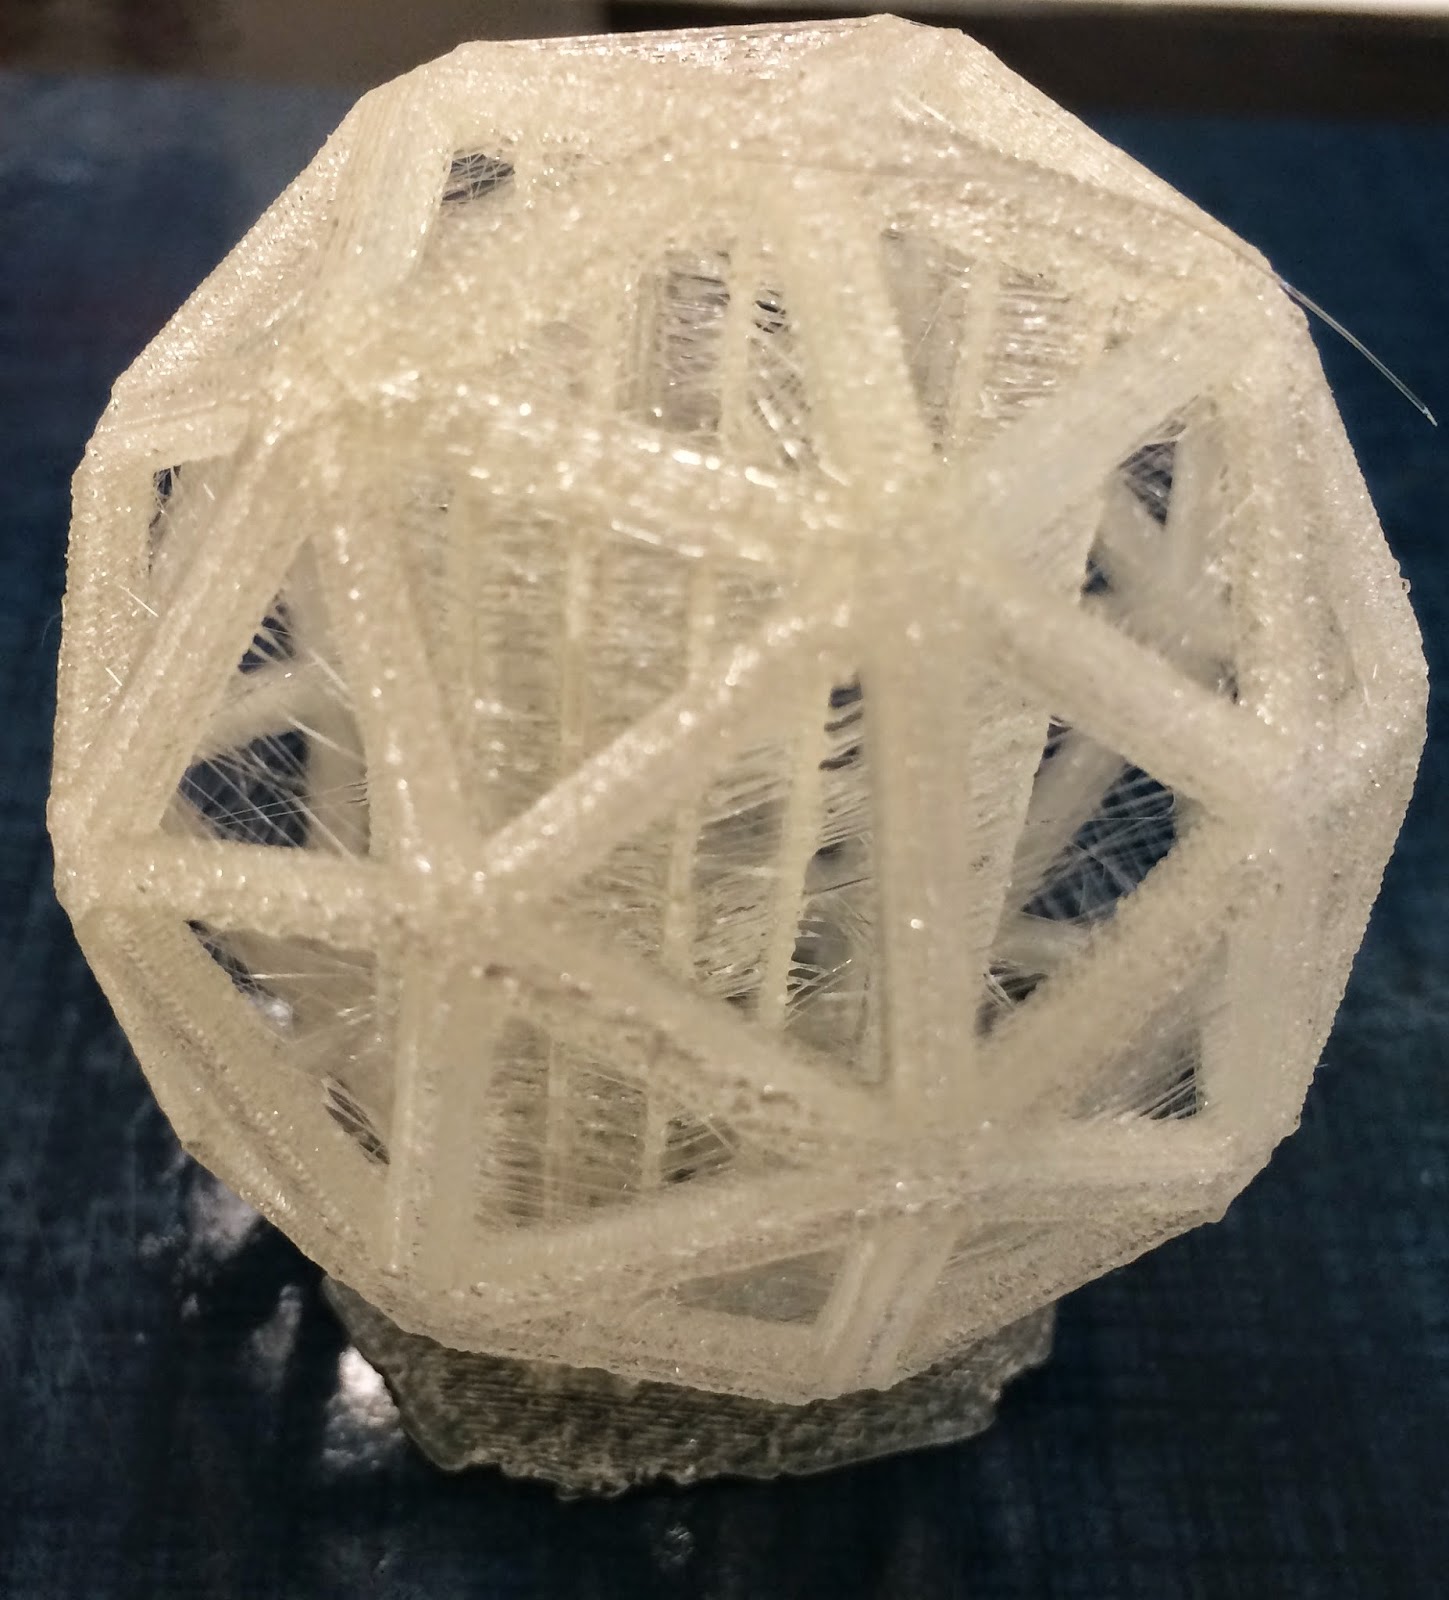
Yesterday, I managed to make a Thingiverse design that is almost practical - octopus iPhone stand (shown below). Today I tried to follow up with the octopus iPad holder. Very impressive print, but the iPad holder stuck to the build plate so well that I spend 2 1/2 hours, exacto knives, putty knives, and several boxes of dental floss getting it off and had to break it in the process. (Luckily did not break the build plate!) Be careful what you wish for! Right now I am printing some accessories for the 3D printer. So self referential!


The iPhone holder: 
Dancers designed in iPhone App; Birds designed in iOrnament App - original design shown here (One shape identified, processed in InkLab and Tinkercad like the doodle in a previous post)


Self-reference print: A cover for the handle in order to better insulate (right shows it in action)


Technical notes: I printed most successfully with the raft and support off. There was a problem making sure the bed heated - it didn't seem the be the default. My settings were as follows: 
Temperature: 240 White / 230 Red / Plate: 110
Speed: 70 extrude /150 travel mm/s
Regarding blue tape vs. Kapton: I am still on the fence about this. Kapton is very hard to put on without trapping air bubbles. 

Designs used: 
iOrnament (for designing a viable tiling pattern)


Thursday, October 16, 2014

Nano blocks for printing


My friend Dave Benson (Univ. of Aberdeen) used nano blocks to build by hand a 3D mathematical object, namely a cubic surface. The process is pretty much the same as what the printer does, building up the surface layer by layer from the bottom to the top. Below are Dave's specifications. I hope to try this on the printer soon after my return. (That is, I will use the lazy's person's method for surface creation.)

Thanks Dave!

Here is the Magma code I used for producing the cubic surface in Nanoblocks:
R<u,v,w>:=PolynomialRing(RealField(8),3);
U:=2^(1/2)*u;
V:=6^(1/2)*v;
W:=(4*3^(1/2))*w/5;
x:=(3*U+V+2*W)/6;
y:=(-3*U+V+2*W)/6;
z:=(W-V)/3;
f:=R!(81*(x^3+y^3+z^3)-189*(x^2*y+x*y^2+x^2*z
+x*z^2+y^2*z+y*z^2)+54*x*y*z+126*(x*y+x*z+y*z)
-9*(x^2+y^2+z^2)-9*(x+y+z)+1);
g:=R!(3/5-u^2-v^2);
[[[(1+Sign(Evaluate(f,<i/20+1/40,j/20+1/40,k/20+1/40>)))
*(1+Sign(Evaluate(g,<i/20+1/40,j/20+1/40,k/20+1/40>)))/4
: i in [-16..15]] : j in [-16..15]] : k in [-13..26]];

The last line turns the equations into a set of matrices of zeros and
ones describing the layers, much like 3D printing. In each layer, the
ones are where both f and g are positive; the role of g is only to
intersect with a cylinder. The line defining f gives the equation of the
cubic in (x,y,z) coordinates. But this equation has a symmetry of order
three permuting x, y and z, so the cubic would point diagonally away
from the origin. I really wanted it to point upwards, so u, v, and w are
rotated from x, y, z by a transformation given in the first few lines.
The final piece of information you need is that nanoblocks are only 4/5
as high as they are long and wide, which is why the definition of W in
terms of w has a spurious looking factor of 4/5 in it. Hope that helps.

The particular equation of the cubic that I chose is the "Clebsch
diagonal cubic." In general, a nonsingular cubic surface has 27 lines on
it, over the complex numbers. This is one where all 27 of the lines are
real.

Press coverage

This blog has been on hiatus during my sabbatical at Brown (where there seem to be absolutely zero 3D printers!), but my 3D printer is featured in the following GMU News article:

http://newsdesk.gmu.edu/2014/10/using-3-d-printing-help-students-understand-calculus/


Monday, August 4, 2014

Constant width objects

Here is a print of some curves of constant width that are not circles called Reuleaux polygons.


To see that they are all the same width, here they are on the spine of a familiar book.


I used the STL file from

http://www.thingiverse.com/thing:61275

Note I was able to print all four at the same time in two hours. They aren't very tall, but they were quite far apart on the build plate, so there seems to have been some time advantage in quantity.

There is a discussion in

http://cp4space.wordpress.com/2013/10/27/curves-of-constant-width/


See also the 3D versions discussed in

 http://awesci.com/constant-width-objects-not-spheres/


Thursday, July 31, 2014

Transformation of functions

First of all, I have switched the extrusion color from white to yellow. The results look very nice! The current print is to demonstrate mathematical transformation f(x-c) where c is varying along an axis. The result is a shift of the function - which in this case is a sinusoidal function. It illustrates the concept nicely.


As a general observation, solids seem to work much more successfully than mesh. Here is the same thing when tried in mesh. It just doesn't work out as well. I am sold on solid!


Thursday, July 17, 2014

Back in business!

The new extruder finally arrived. After fiddling and firmware updates, we are finally back in business. Here is Chris Manon's first printed design.

It is entitled Associahedron5. I will let him fill in the mathematical and technical details as to how it was created.

Thursday, June 5, 2014

Ellipsoid


After a break, I am back at it. Yesterday's print was an ellipsoid. It is around 3.5 inches tall and took around 5 hours. Of course at a fraction the price,  I could have just purchased a package of M&Ms for the course demo. (First donuts, now M&Ms - is geometry somehow linked to dessert?)  In a future iteration, I plan to remove the remaining circular symmetry and make it an ellipse in every direction. No item in the candy aisle does that. 


Technical comments:
My first attempt was to print it to be short, but it is the overhang that matters. The front of this image shows the aborted print, where lots of filament was dripping down. The back  shows the bottom of the successful print - still a bit of drip.


Due to wanting to increase the size, I tried a modification  by adding a support in Tinkercad. 
I am currently reprinting it at 1.5 times the size. However, it seems this involves taking  more care than I gave it, because the supports do not seem to be touching the bottom. However, it seems to be doing well so far - estimated to take 11 hours.  

One day later update: First spectacular failure!  It seems that one must be very careful to get the supports right with a larger piece.  It seems that it fell over while printing, creating a lot of angel hair filament in the course of it. Well, back to the virtual drawing board. Planning to take inspiration from the support structure on the Sierpinski Tetrahedron by Owens. 


Wednesday, May 21, 2014

Paraboloid complications

I tried printing a paraboloid, but the lines were too thin, as thin as the supports, and thus the shape came apart on trying to remove supports.


Which made me wonder: How long is it possible to make unsupported bridges ie. hanging sections without any support. The following link indicates that at least for the replicator 2, 10 mm is reasonable, and here they were able to do up to 40 mm. I do not know if this is different for the 5th generation. I will find out: I am currently reprinting a fattened up version of the paraboloid without support. The bridges are more like an inch. I am printing it large side down so things will only get closer as time passes.

Here is the fattened version, printed without support:


Improvements: Perhaps too reminiscent of a famous 3D clothing item from Shapeways. In addition, more attention needs to be paid to the join points. There may be a possible fix in Mathematica. Alternatively, it might be necessary to have an intermediate step between Mathematica and printing. In case that doesn't work, here is a possible solution using Tinkercad. Here is a close up:

Thursday, May 15, 2014

Catalan triangulated Buckyball

I tried making the Buckyball model in which I inadvertently triangulated all pentagons and hexagons. This taught me the lesson that there is an absolute limit on the minimum size of an opening if there is going to be support in the interior. Namely, the size of the tool you are using to clean up the shape. I had to break a few edges to clean out the shape. It is depicted here next to the previous wireframe shape (a Pentakis Dodecahedron).


Future plans: I am going to try to remove the extraneous edges to make an actual recognizable truncated icosa/Bucky/soccer ball.

Wrapped tubes

Turns out that topologist Herbert Edelsbrunner founded a company for 3D object manipulation. He has a large series of knots and tori that he has generated in STL. I'm trying the square torus in -10/4 time: Ten rotations of the tube during four rotations around the hole. The minus sign means the tube curls towards the middle in the clockwise direction. It is a very nice model and turned out great with minimal clean up.


Possible revisions:  I might have been able to print it without supports, but I was worried about the parts which wouldn't touch the bottom, so there were supports on the bottom. And ten is too many rotations. It sort of looks like a fancy donut instead of a mathematical shape. Next time I would like to try the -4/4 time torus without supports.

Update: I found out what kind of fancy donut this is - it is a French Cruller.

Catalan wireframe polyhedra

I tried mathgrrl's entire workflow for producing Catalan wireframe polyhedra. It gives a chance to try meshlab,  TopMod, and edit a custom profile. During the Prepare stage, I discovered the very useful command "Lay Flat" in the Turn menu.

Here it is while printing:


And here's what I see on my screen while printing. The camera means I can watch it while sitting in the other room:


Here it is in its finished state ready to be cleaned up:


Follow up note on clean up: mathgrrl shows a photo that looks something like this, followed by a cleaned up version with the comment "removing the support is not all that difficult" and only takes 5 minutes.  Obviously she knows something I don't because  I have already broken one of the edges, but still have not managed to get all those supports out of the middle! Hopefully one gets the hang of it after a while. Here it is at last after 5 minutes… in turtle minutes anyway:


Notes for next time: I tried this whole workflow again on a buckyball, but there I ended up with all sides triangulated. Have to work out why they didn't remain pentagons and hexagons.

Setting temperature in custom profiles

Quick technical note for future reference: To set the temperature in the custom profiles, you need to set it in the file start.gcode (not in  miracle.json).

Update: Even when I set it this way, it didn't work. I will be looking to find how to set it in custom profiles. In the meantime I will set it using the GUI profile maker.

Silly Doodle Printing

Today I am printing a silly doodle that I made on a piece of paper, as per these instructions by mathgrrl.  I started with the following doodle:


Which I processed to to give a 3D stl file  that looks like this (this is a still image in the open source program meshlab, which runs through XQuartz):


I sent that to the printer. The result is this:


I believe that this process would work fine to generate 3D versions of one-dimensional functions.

Half Menger Cube

Yesterday's I printed a half Menger cube by owens, using the order three model. It was estimated to take 3:30 hours, and took more like 5. Usually the estimates are pretty accurate, but I suspect the fractal nature causes misestimation.


Possible revisions: This half Menger cube particularly interesting because of the beautiful cross section on the inside piece. Unfortunately, it is very hard to see in the white material. Next time I will either try printing in a different color, printing just the flat cross section to add on, or printing the other half to see if that angle shows better.

Wednesday, May 14, 2014

Welcome to the GMU Math Makerbot Lab


Lab Members: Evelyn Sander and Chris Manon
Mathematical Sciences, George Mason University

Welcome!

We have just gotten a 3D printer: Makerbot Replicator 5th Generation to use in the calculus classroom.
In order to keep ideas in order, I will keep a blog. Initially this will be mostly technical details of how to use the printer, but it might get interesting after a while.

Makerbot in action:


Some prints:

Everyone's first print: Mr. Sharky
Chain prints linked

Queen Anne table
Nut and bolt
Table needed a teapot


Final print from movie above
Rolling knot

Hyperboloid pencil holder


Makerbot support line: If you need to call Makerbot for technical support: 347-334-6800 ext 2. 

How to avoid a mothy quality in printing: 
Three suggestions on how to avoid mothiness. Try in order

1. Lower temp to 225
2. Lower print speed to 80 mm/sec
3. Lower travel speed to 140 mm/sec


Software:
Have downloaded MeshLab and TopMod, but of which seem like nice open source tools. Worth trying. They are post-processors for a Mathematica generated file. So if you use the canned Mathematica polyhedra, you can for example remove faces and just leave the edges and regenerate a mesh. Still haven't tried any CAD software, but I am messing with some custom profiles to see how to modify the supports. For example, "hexagon" is only one fill option. 

How to replace the blue tape on the build plate: 
Replacement blue tape rectangles are called kapton tape. They sold by Makerbotsold on Amazon, and according to the website also at any hardware store. 

Posted by Evelyn Sander