The sets of fixed height (level curves) on the torus standing on end change topologically when the height hits the hole. The bottom level set is a point, followed by one loop between the bottom at the hole, a figure eight at exactly the where the hole starts, two loops inside the hole, and then everything in reverse order on the top half ending in a point at the very top. This is a popular illustrative example in the study of Morse theory.
Things looked kind of a mess before removal from the build plate, but that turned out to be the dual build fence rather than the model.
Friday, January 16, 2015
Thursday, January 15, 2015
A Matter of Size
Each of these shapes is less than 2 inches and took less than an hour to print. Much more immediate gratification than fancy large prints!
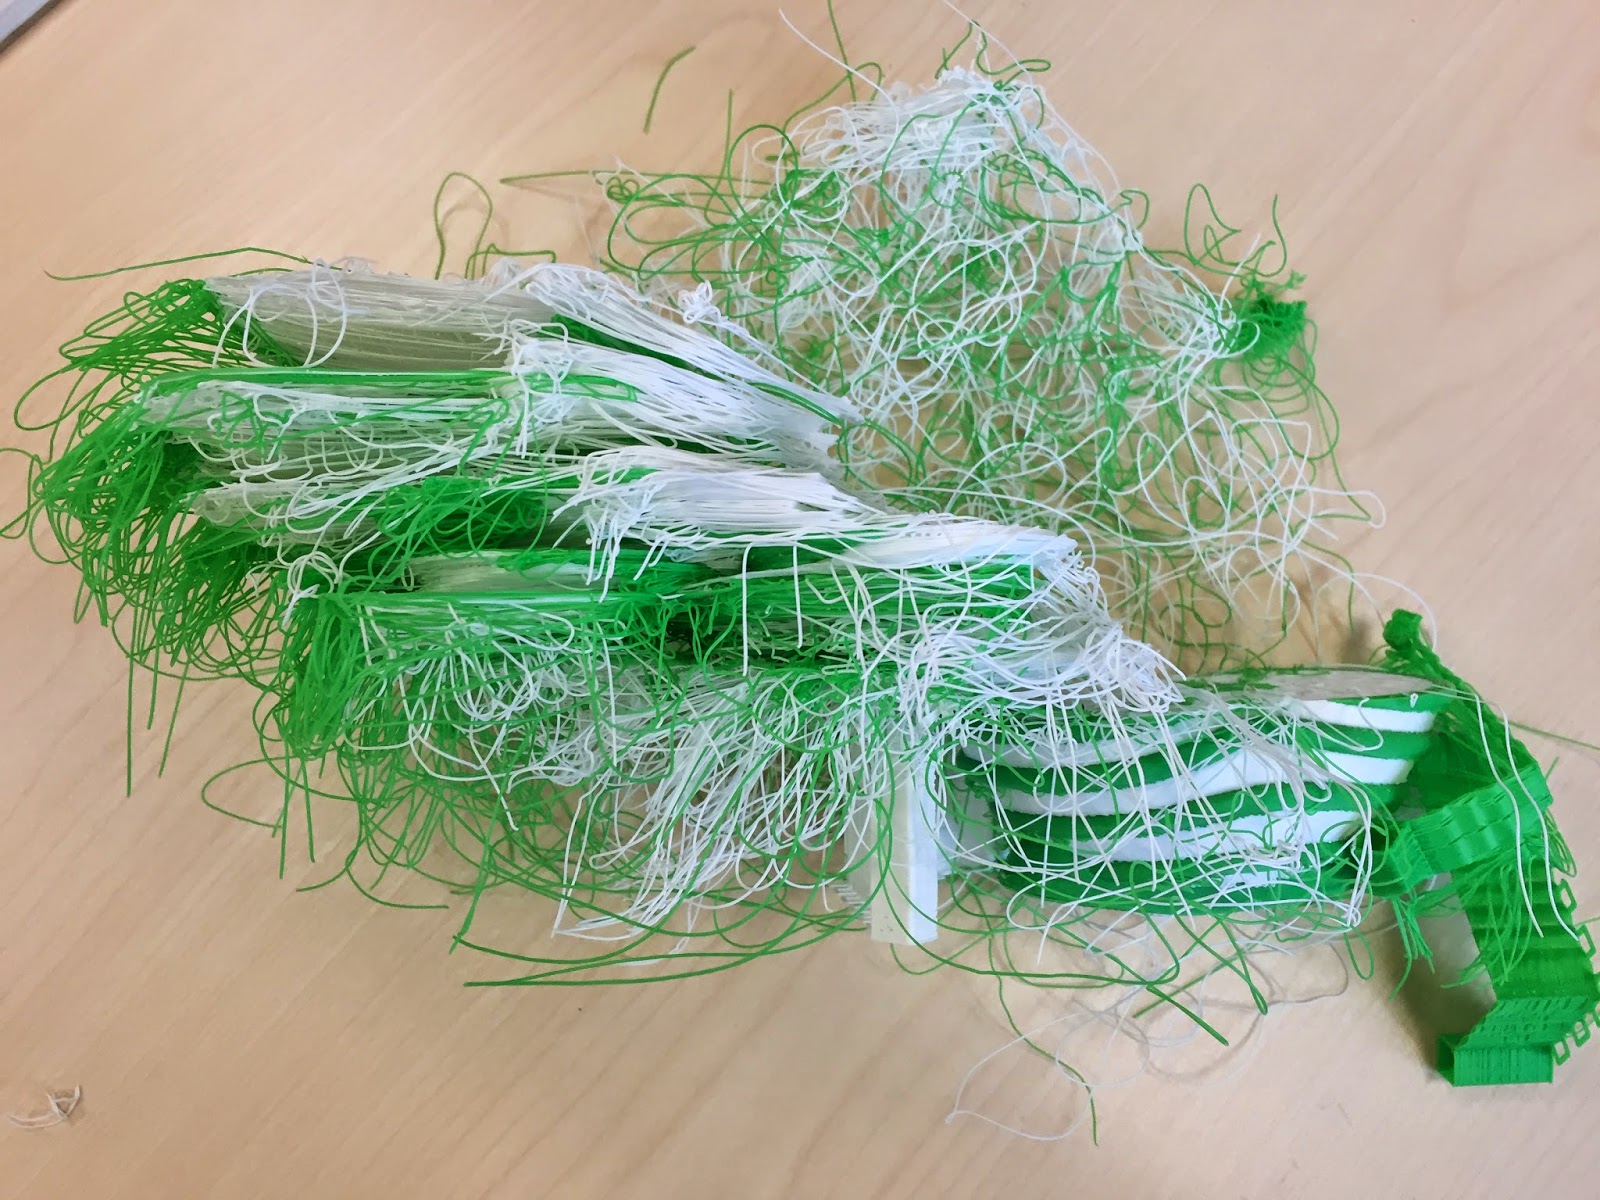
Whereas the one below took 12 hours and fell over in the middle to produce a large mess. The second image shows how this a side view to see that the plot had gotten more than 2 inches tall.
A side note being that the FlashForge home printer seems to be better calibrated than the Makerbot 2X at the university. On an identical protractor print (not shown), the writing was unreadable on the work print and perfect on the home print. Have not figured out if it's an inherent problem or can be fixed.
Follow up 1/16/15: The animals were shown around to 6th graders and were met with unbelievable enthusiasm. I had already shown my mathematical prints to one of them. Reaction "I didn't realize that the printer could make such fun stuff too!"
Monday, January 12, 2015
Monkey Saddle
As a follow up to the last post, the previous saddle is not practical for a monkey, as it does not leave room for a tail. Thus the following monkey saddle:
Mathematically, the graph of the function f(x,y) = (x^3 - 3 x y^2)/2. It has the property that at the center it is even flatter than the standard saddle.
Visible calculus: The print ended up having some issues at this center point due to overhangs, whereas this didn't happen in the standard saddle. First printing issue to delight me.
Technical note: The standard monkey saddle function does not include the 1/2, but this made for too steep a figure, which started to break off at the corners. Next time I will split the difference and make the factor perhaps 3/4 to address the overhang problem.
Visible calculus: The print ended up having some issues at this center point due to overhangs, whereas this didn't happen in the standard saddle. First printing issue to delight me.
Technical note: The standard monkey saddle function does not include the 1/2, but this made for too steep a figure, which started to break off at the corners. Next time I will split the difference and make the factor perhaps 3/4 to address the overhang problem.
Sunday, January 11, 2015
Saddle in two colors
Here is a quartic surface: a standard mathematical saddle surface with a second color to show the parametrization. This shape has a point (the middle point) at which all partial derivatives are zero, but the point is neither a maximum nor a minimum. It is created in Mathematica by plotting the graph of the function x^2 -y^2 + 1 on the unit square.
Technical notes determined by trial and error (or more accurately error and error and error ad naseam)
-The parametrization lines are created using the Tube command in Mathematica.
-This was printed with neither raft nor supports.
-The blue base pieces is needed in order to make the print work without falling over, the thickness of the white surface is 2, and the thickness of the blue parametrization is 2.5.
-In order to make the blue base pieces, I made spheres in Mathematica and used the hole options in Tinkercad to cut off the bottom half. Do not just leave the sphere intact and assume that the printer will ignore the part below the build plate. This actually seems to stop the printer for a long time and set there thinking about printing the bottom half of the sphere.
-Do not try to print something too steep - it seems that if it's about the same height as length and width you'll be better off. A steep piece can break off the base under its own weight. On the other hand, too wide will give the dreaded overhangs of more than 45 degrees.
-The side walls that are printed on the dual print can topple over. This seems to be a build plate adhesion problem. No consistent solution to this problem.
Technical notes determined by trial and error (or more accurately error and error and error ad naseam)
-The parametrization lines are created using the Tube command in Mathematica.
-This was printed with neither raft nor supports.
-The blue base pieces is needed in order to make the print work without falling over, the thickness of the white surface is 2, and the thickness of the blue parametrization is 2.5.
-In order to make the blue base pieces, I made spheres in Mathematica and used the hole options in Tinkercad to cut off the bottom half. Do not just leave the sphere intact and assume that the printer will ignore the part below the build plate. This actually seems to stop the printer for a long time and set there thinking about printing the bottom half of the sphere.
-Do not try to print something too steep - it seems that if it's about the same height as length and width you'll be better off. A steep piece can break off the base under its own weight. On the other hand, too wide will give the dreaded overhangs of more than 45 degrees.
-The side walls that are printed on the dual print can topple over. This seems to be a build plate adhesion problem. No consistent solution to this problem.
Saturday, January 3, 2015
Mobius Strips
I designed a print in Mathematica of two Mobius strips orthogonal to each other at every point. This comes up in the study of stable and unstable manifolds of periodic orbits for ordinary differential equations -- if one of the manifolds is non-orientable, then the other one must also be non-orientable. I have made this shape out of paper, but it is surprisingly difficult. You cannot just make two Mobius strips out of straight pieces and expect them to mesh together nicely. At any rate, here it is.
Technical instructions:
1. Designed the two Mobius strips in Mathematica. The PlotStyle->Thickness[.2] and mesh->False commands seems to do a nice job of making the shape "manifold." (Note to mathematicians, manifold in the 3D printer world seems to be an adjective rather than a noun.)
2. Imported them both into Tinkercad, using the second one as a "hole" meaning that it did a set minus of one from the first.
3. Imported the set-minused version and separately the second Mobius strip into Makerware. I added a base made from a "Helper disk" in Thingiverse. The base is needed to make the shape stick to the build plate. Without a fairly large flat part the shape will not print. The Makerware raft does not seem to do the trick.
Mathematica Version
Printed version
1. Designed the two Mobius strips in Mathematica. The PlotStyle->Thickness[.2] and mesh->False commands seems to do a nice job of making the shape "manifold." (Note to mathematicians, manifold in the 3D printer world seems to be an adjective rather than a noun.)
2. Imported them both into Tinkercad, using the second one as a "hole" meaning that it did a set minus of one from the first.
3. Imported the set-minused version and separately the second Mobius strip into Makerware. I added a base made from a "Helper disk" in Thingiverse. The base is needed to make the shape stick to the build plate. Without a fairly large flat part the shape will not print. The Makerware raft does not seem to do the trick.
Success on iPad stand and a silly mashup
I finally had success on the octopus iPad stand by using Kapton tape with hair spray. Stuck to the build plate, but also came off.
I also made a silly mashup.
Monday, December 29, 2014
Careful what you wish for
I have bought myself a home printer: FlashForge Creator Pro - dual, heated bed, pretty close to the replicator 2x. Learned a lot setting it up and have actually managed to get some things to adhere to the bed. I have had (and everyone does have) problems with the print sticking to the heated build plate, so was very proud to have found a secret method to get it to stick. Specifically, on blue tape before printing, smearing the bed with a glue stick. You know, the kind they use in kindergarten classes. I figure that someone’s kindergartner suggested it and that someone was just desperate enough to try it - only to find that it worked. (For Kapton tape, use hair spray instead of glue.)
Yesterday, I managed to make a Thingiverse design that is almost practical - octopus iPhone stand (shown below). Today I tried to follow up with the octopus iPad holder. Very impressive print, but the iPad holder stuck to the build plate so well that I spend 2 1/2 hours, exacto knives, putty knives, and several boxes of dental floss getting it off and had to break it in the process. (Luckily did not break the build plate!) Be careful what you wish for! Right now I am printing some accessories for the 3D printer. So self referential!

Yesterday, I managed to make a Thingiverse design that is almost practical - octopus iPhone stand (shown below). Today I tried to follow up with the octopus iPad holder. Very impressive print, but the iPad holder stuck to the build plate so well that I spend 2 1/2 hours, exacto knives, putty knives, and several boxes of dental floss getting it off and had to break it in the process. (Luckily did not break the build plate!) Be careful what you wish for! Right now I am printing some accessories for the 3D printer. So self referential!
The iPhone holder:
Dancers designed in iPhone App; Birds designed in iOrnament App - original design shown here (One shape identified, processed in InkLab and Tinkercad like the doodle in a previous post)

Self-reference print: A cover for the handle in order to better insulate (right shows it in action)
Technical notes: I printed most successfully with the raft and support off. There was a problem making sure the bed heated - it didn't seem the be the default. My settings were as follows:
Temperature: 240 White / 230 Red / Plate: 110
Speed: 70 extrude /150 travel mm/s
Regarding blue tape vs. Kapton: I am still on the fence about this. Kapton is very hard to put on without trapping air bubbles.
Designs used:
iOrnament (for designing a viable tiling pattern)
Subscribe to:
Posts (Atom)